How Do I Display the Help Document to Insert Word Art in Word 2010
Lesson 15: Text Boxes and WordArt
/en/word2010/working-with-shapes/content/
Introduction
You may want to insert a text box into your document to draw attending to specific text or have the ability to easily movement text within a document. Text boxes are basically treated the aforementioned as shapes, so you can add the same types of effects to them and can even modify their shape.
In this lesson, you will learn how to insert a text box and format information technology in various means, including resizing and moving it, as well as irresolute the text box shape, color, and outline. Yous will as well acquire how to create and format WordArt.
Text boxes
Text boxes are useful for helping to organize your document. They are basically treated the aforementioned as shapes, then when you i nsert a text box you can format it past changing its fill up color, outline colour, and shape style, equally well as create WordArt and add together 3D effects.
To insert a text box:
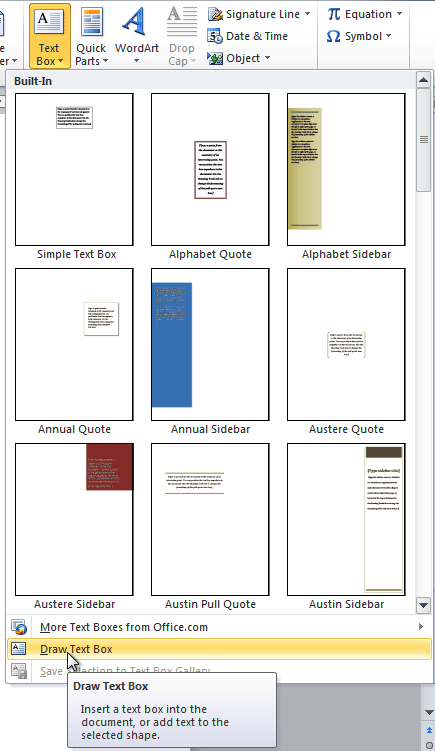
- Select the Insert tab on the Ribbon.
- Click the Text Box command in the Text group. A drop-downward bill of fare will appear.
- Select Draw Text Box.
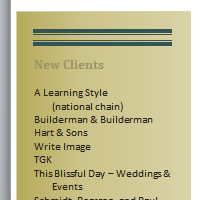
 Creating a blank text box
 - Click and elevate on the document to create the text box.
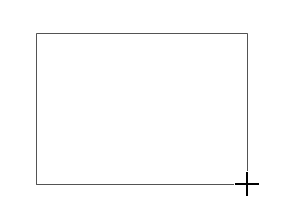 Cartoon the text box
 - You lot can now offset typing to create text within the text box.
From the drop-down menu, you can also select i of the built-in text boxes that accept predefined colors, fonts, positions, and sizes. If you lot choose this choice, the text box volition announced automatically and then yous will not need to click and drag to draw it.
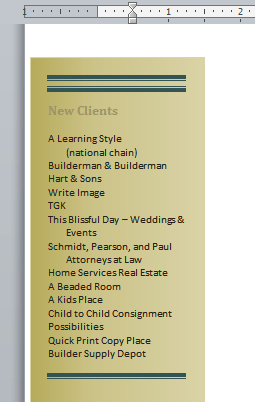 A built-in text box
To motion a text box:
- Click the text box.
- Hover the mouse over ane of the edges of the text box. The mouse pointer becomes a cross with arrows on each end
 .
. - Click and drag the text box to the desired location on the page.
 Moving a text box
To resize a text box:
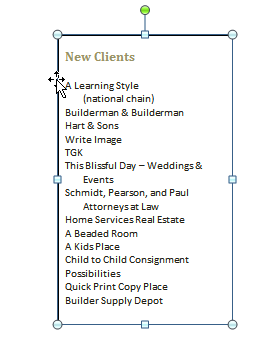
- Click the text box.
- Click and elevate one of the sizing handles on the corners or sides of the text box until it is the desired size.
 Resizing a text box
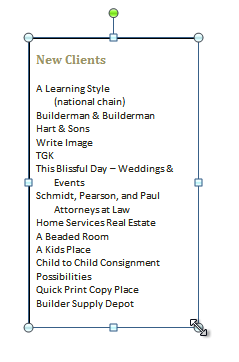
If you elevate the sizing handles on whatsoever of the four corners, you volition be able to alter the peak and width at the same time. The sizing handles on the tiptop or lesser of the text box will only permit you lot to resize vertically, while the handles on the left and right sides volition resize the text box horizontally.
Irresolute a text box's advent
To change the text box shape:
- Select the text box. A new Format tab appears with Drawing Tools.
- Go to the Format tab.
- Click the Edit Shape command.
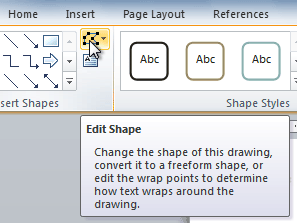 The Edit Shape command
 - Click Alter Shape to display a drop-down list.
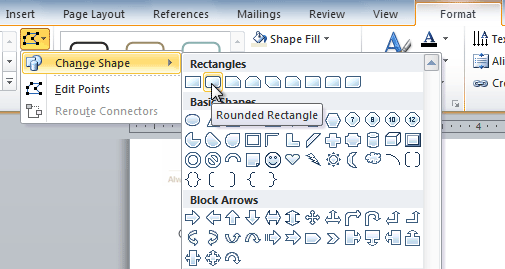 Choosing a unlike shape for the text box
 - Select the desired shape from the list.
To cull a shape style:
Choosing a shape style allows y'all to apply a preset fill and outline color, and in some cases other furnishings such every bit beveling and shadow. You don't have to selection a way for your text box, but it can assist you save fourth dimension or experiment with different appearances.
- Select the text box. The Format tab appears.
- Select the Format tab.
- Click the More driblet-down pointer in the Shape Styles group to display more fashion options.
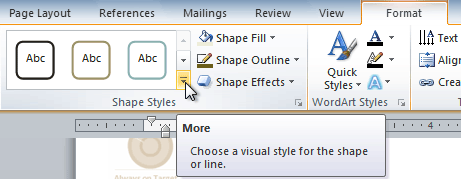 Viewing the Shape Styles
 - Hover your mouse over the styles to meet a live preview.
- Select the desired style.
To change shape fill:
- Select the text box. The Format tab appears.
- Click the Format tab.
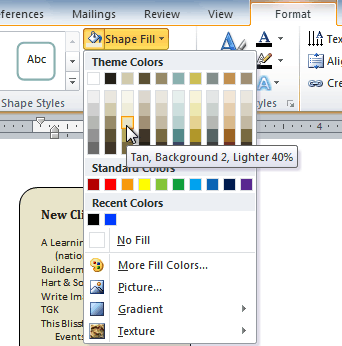 Changing the make full color
 - Click the Shape Fill up control to display a drop-down carte.
- From the drib-down menu, you tin select a color from the list, choose No Fill, or select More Fill up Colors to use a color that'due south not on the list.
To change the shape outline:
- Select the text box. The Format tab appears.
- Click the Shape Outline command to brandish a drib-down list.
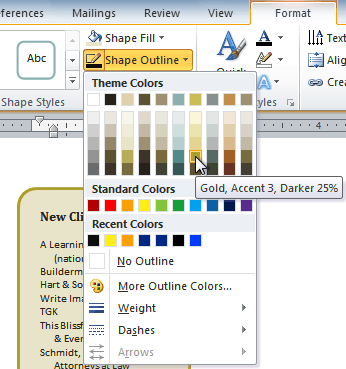 Changing the outline color
 - Select a color from the listing, cull No Outline, or select More than Outline Colors to use a color that's not on the listing.
- From the drop-downwardly menu, you can alter the outline color, weight (thickness), and whether it is a dashed line.
To change shadow effects:
- Select the text box. The Format tab appears.
- Select the Format tab.
- Click the Shape Effects command.
- Click Shadow.
- Motility your mouse over the carte du jour options to meet a live preview in your certificate.
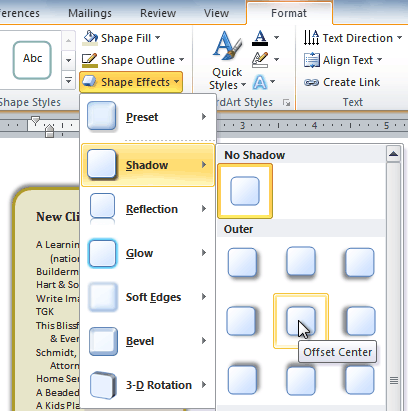 Adding a shadow
 - Click the desired choice to select the shadow consequence.
To choose a different shadow color for your shape, select Shadow Options from the driblet-down carte, and so click the Color button.
3D effects
Merely similar other types of shapes, text boxes can take 3D effects. In that location are two types of effects you can apply to your shapes to give them a 3D appearance: three-D Rotation and Bevel. iii-D Rotation gives the appearance that you are viewing an object from a different angle, and it can be applied to whatever shape. Bevel adds thickness and a rounded edge to shapes; however, it doesn't work with every type of shape.
To use 3-D Rotation:
- Select the text box.
- Select the Format tab.
- Click Shape Effects from the Shape Styles group.
- Hover your mouse over 3-D Rotation. A drop-down menu will appear.
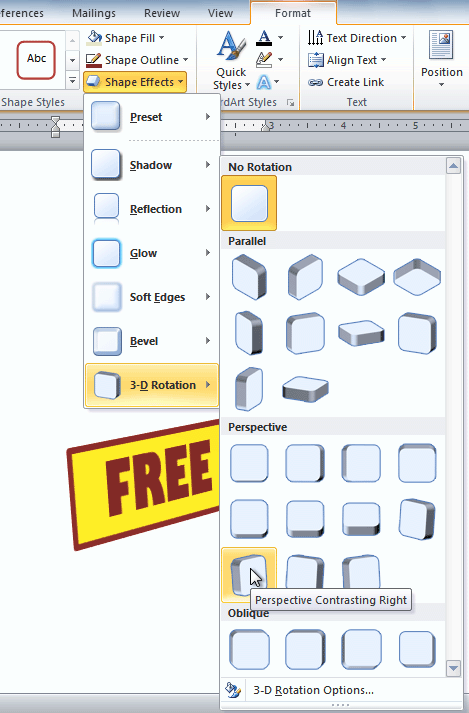 Applying three-D Rotation to a text box
 - Select the desired rotation preset from the drop-downwardly menu. You lot can also click 3-D Rotation Options if you would adopt to blazon custom values.
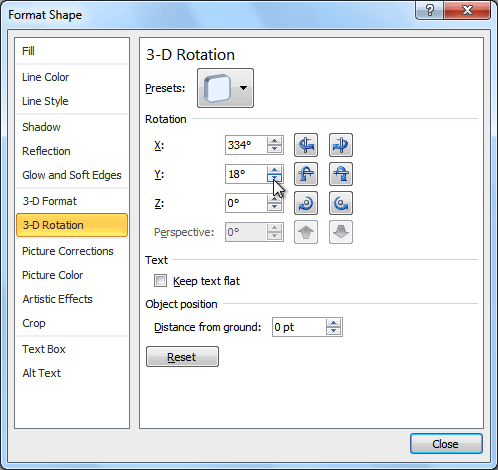 3-D Rotation Options
To utilize bevel:
- Select the text box.
- Select the Format tab.
- Click Shape Effects from the Shape Styles group.
- Hover your mouse over Bevel. A drop-down menu will appear.
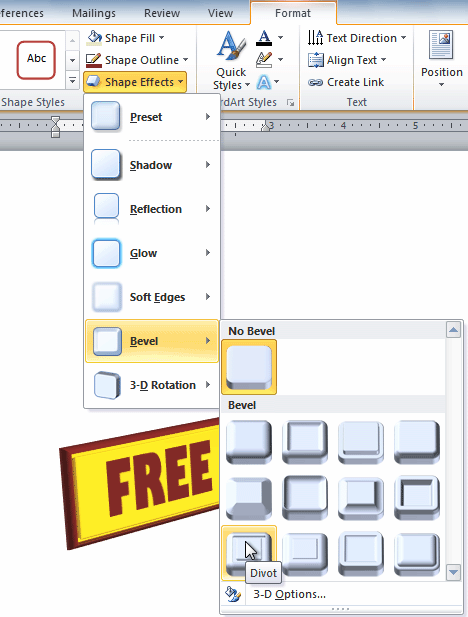 Calculation bevel to a text box
 - Select the desired bevel preset from the drop-downwardly menu. You can too click 3-D Options if yous would prefer to type custom values.
If you click 3-D Options, you'll also be able to change the shape's Cloth to give it a metal, plastic, or translucent appearance, and you can choose the Lighting type to change how the shape is illuminated.
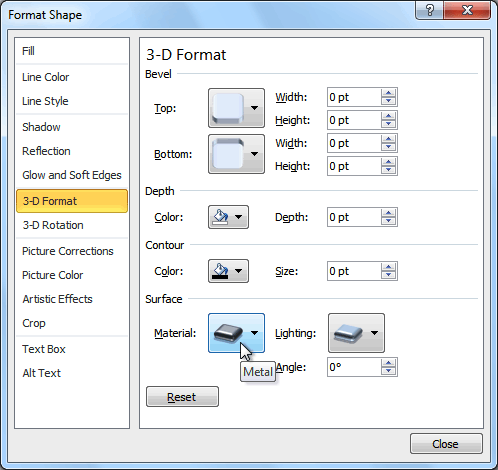 3-D Format Options
Creating WordArt
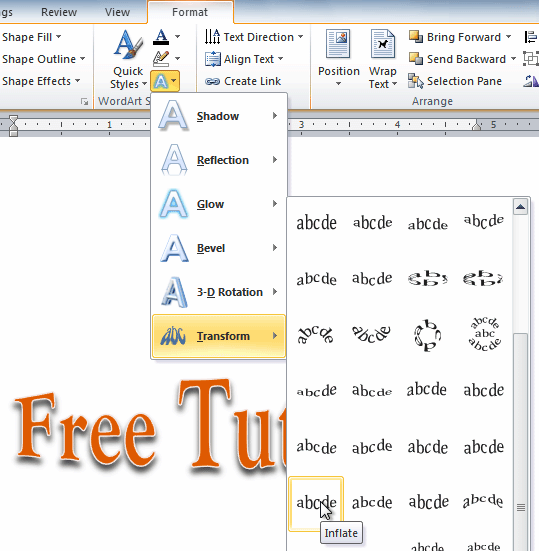
In addition to adding effects to a text box, you can add together effects to the text inside the text box, which is known as WordArt. For the most office, the types of furnishings you can add are the aforementioned as the ones you can add to shapes or text boxes (shadow, bevel, etc.). However, you can as well Transform the text to give it a wavy, slanted, or inflated await.
To use a quick way to text:
A quick mode will automatically apply several effects to your text at once. You tin can then refine the look of your text by adding or modifying text effects.
- Select the text box, or select some text inside of the text box. The Format tab volition appear.
- Click the Format tab.
- Click the Quick Styles command in the WordArt Styles group. A drop-down card volition appear.
 Selecting a Quick Style
 - Select the desired style preset to utilize the style to your text.
After you have applied a quick style, you can still modify the font or font color from the Home tab if yous want.
To convert regular text into WordArt:
For text to be formatted every bit WordArt, it needs to be within of a text box. Nonetheless, at that place'southward a shortcut that allows you to catechumen text into WordArt even if it's non in a text box.
- Select the text y'all want to convert.
- Click the Insert tab.
- Click the WordArt control. The Quick Styles drop-down bill of fare will announced.
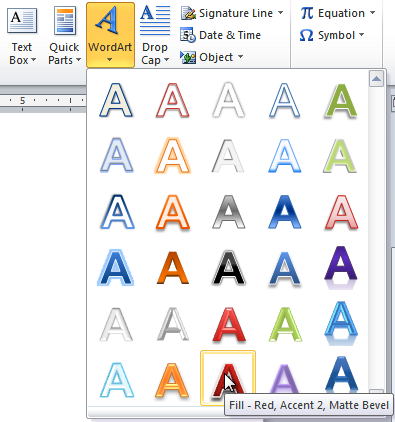 Converting text to WordArt
 - Select the desired quick fashion.
- Discussion will automatically create a text box for your text and utilize the way to the text.
 After converting to WordArt
Some effects, such as shadows, tin can be added from the Text Effects menu in the Home tab. When you add effects in this mode, it will non place the text in a text box.
To add or change text effects:
- Select the text box, or select some text inside of the text box. The Format tab will announced.
- Click the Format tab.
- Click the Text Effects control in the WordArt Styles group. A drop-downwards menu will announced, showing the different upshot categories.
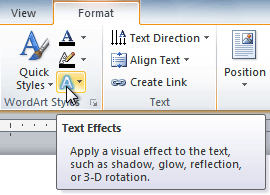 The Text Effects command
 - Hover over an effect category. A driblet-downwardly card will appear. Yous tin hover the mouse over the different presets to meet a live preview.
 Calculation an upshot
 - Select the desired issue preset. The event will exist applied to your text. If you desire, y'all can combine several furnishings.
 The finished WordArt
Claiming!
- Create a new document.
- Insert a text box.
- Enter some text into the text box.
- Motion the text box to the desired location.
- Alter the outline of the text box to a different color.
- Modify the make full color of the text box.
- Add some WordArt effects to the text.
/en/word2010/inserting-clip-art-and-pictures/content/
Source: https://edu.gcfglobal.org/en/word2010/text-boxes-and-wordart/1/